How To Clean Painted Walls – Expert Tips by Kaleidoscope Paint
Cleaning your walls often gets overlooked amidst other household chores, but it’s a simple task that can brighten up any room in your Oklahoma home. If you’re wondering where to begin when cleaning your walls, don’t worry; Kaleidoscope Paint is here to guide you through the process. We’ve put together some easy-to-follow tips and advice to help you maintain clean and radiant walls.
Understanding Your Paint
Before you embark on the cleaning journey, it’s crucial to understand the type of paint and finish adorning your walls. Different paints require different cleaning methods, so identifying what’s on your walls is essential.
Latex and Oil-Based Paint:
These paints are relatively durable and can be cleaned with a mild, nonabrasive cleaner mixed with warm water.
Be cautious not to scrub too vigorously, as excessive scrubbing may scratch or remove the paint.
Semigloss or Glossy:
High-traffic areas like kitchens and bathrooms often feature this paint due to its durability.
While more robust, these finishes can still be prone to scratches and scuffs, so handle them gently and use a soft sponge.
Flat, Eggshell, or Satin:
These finishes are the least durable and require gentle cleaning.
Avoid using harsh chemicals or degreasers, and refrain from aggressive scrubbing, as these finishes are more likely to rub off.
Choosing the Right Cleaning Solution
For a gentle approach, start with warm water and a slightly damp soft sponge or microfiber cloth. If stubborn grime persists, consider using a more potent cleaning solution. You can easily create your own cleaning solution at home by mixing a teaspoon of undyed liquid dish soap with ¼ teaspoon of white vinegar into one quart of warm water. This solution works effectively for semigloss or glossy finishes. If you’re dealing with latex and oil-based paints, you can boost the cleaning power by substituting vinegar with ammonia.
If you’re worried about damaging your paint or finish, test your cleaning solution in an inconspicuous area, such as behind furniture or behind wall art.
Preparation is Key
Before you begin cleaning, prepare your workspace by removing all hanging wall art or pictures and moving furniture away from the walls. Protect your floors from potential drips by laying down towels, drip cloths, or newspapers. It’s essential to thoroughly dust your walls, especially if they have textured surfaces, as they tend to accumulate dust and particles.
Gather your cleaning supplies, including a large soft sponge or a microfiber cloth. To avoid staining, steer clear of using dyed sponges, and if you have sensitive skin, consider wearing kitchen or cleaning gloves. Finally, prepare two buckets—one with the cleaning solution and another with clean, warm water for rinsing your sponge or microfiber cloth.
Let’s Get Cleaning!
Start the cleaning process by working from the top left-hand corner of the wall, using gentle circular motions as you work your way down. It’s essential to ensure that your sponge or cloth isn’t overly saturated to prevent water from running down the walls. After treating each area with the cleaning solution, go over it once more with fresh, clean water to remove any remaining cleaning residue. For hard-to-reach high walls, consider using a sponge mop with a long handle.
Once you’ve finished cleaning the walls, give them a final wipe-down with a clean, dry sponge or towel to speed up the drying process. Allow ample time for your walls to air dry completely before returning furniture and wall art to their original positions.
Spot Cleaning
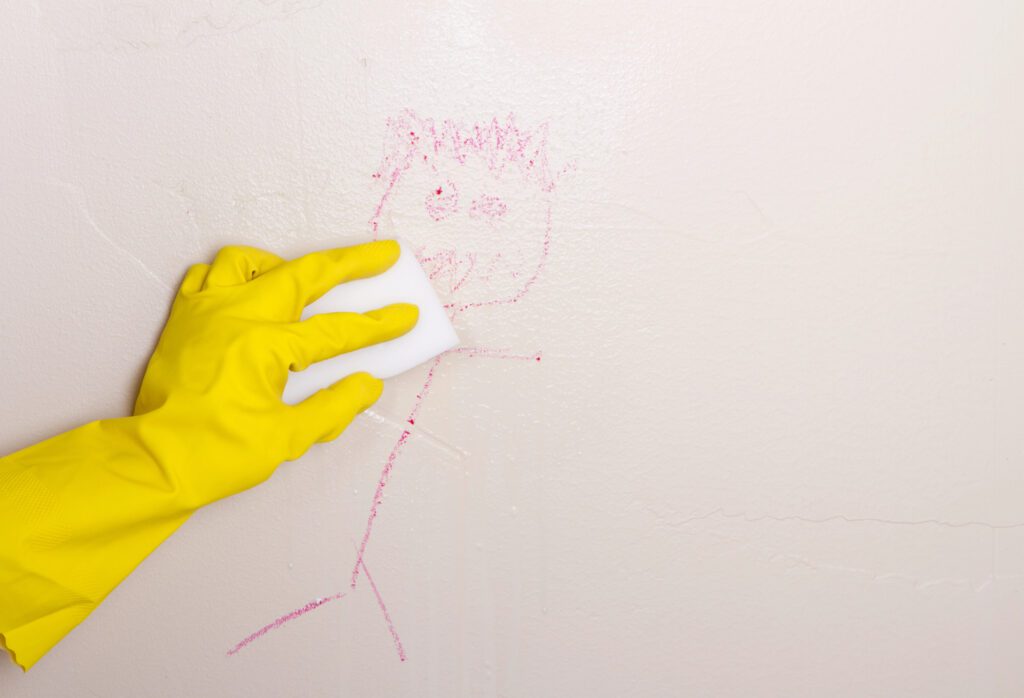
For wall stains, prompt action is key. Begin by gently blotting the stain with a water-dampened sponge or cloth to remove loose debris. Test whether the stain can be removed without cleaners. If the stain persists, try dampening a cloth or sponge with baking soda and gently scrubbing the affected area. You can also create a paste by mixing baking soda and water and applying it to the stain. If these methods prove ineffective, consider using a stronger cleaner (after testing a hidden spot) and then wipe the area clean with a sponge or towel to eliminate any residual cleaning residue.